Seven families of round. Picking the wrong one usually does not fail loudly — it just quietly wastes the shot, the charges and the time you spent laying the gun.
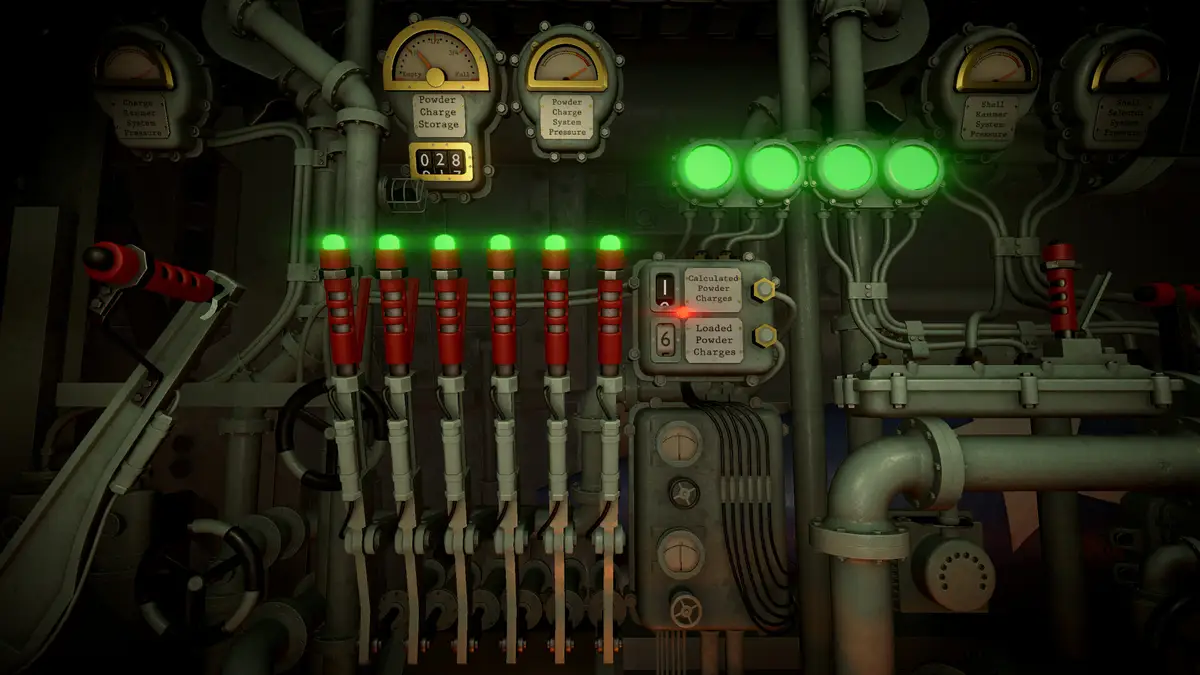
The ready rack. What you put in it is decided before the fire mission starts — swapping mid-mission costs time you will not have. Screenshot: IRON NEST: Heavy Turret Simulator.
Badges below separate what the developers have stated outright from what players have worked out by using the rounds. Where a behaviour is player-observed, treat the detail as reliable and the wording as approximate.
HE
High explosive
Developer-stated
What it is
The standard fragmentation round, and the one you will fire most of.
Use it for
Individual vehicles, gun positions, and anything clustered tightly enough to sit inside one burst.
Where people go wrong
Players default to HE for dispersed infantry and then wonder why a hit killed two men. Spread targets want HCHE.
HCHE
High-capacity high explosive
Player-observed
What it is
A thinner-walled HE round trading fragment weight for a much wider blast radius.
Use it for
Dispersed targets — infantry in the open, supply areas, anything spread across more than one sub-grid square.
Where people go wrong
The wide radius is exactly what makes it dangerous near friendly positions. Check the friendly markers before you load it.
AP
Armour piercing
Developer-stated
What it is
A solid steel slug. No burst — it does its work through mass and velocity.
Use it for
Buried or hardened targets, and precision work close to friendly troops where a burst radius would be a liability.
Where people go wrong
Firing AP at soft dispersed targets wastes the shot. It punches one hole and nothing else happens.
STAR
Illumination
Developer-stated
What it is
A parachute flare that hangs over the impact point and lights the ground under it.
Use it for
Night operations, and revealing an area of map you have narrowed down but cannot see.
Where people go wrong
High Command can work backwards from the burst. If you are given a range and bearing and you fire a STAR on it, you have also told someone where you are firing from.
SMK
Smoke
Developer-stated
What it is
A screening round that lays smoke over the impact area.
Use it for
Forcing an enemy formation to reposition, or masking a friendly movement.
Where people go wrong
It scores nothing on its own. Firing smoke into a timed mission burns time you may need for the actual targets.
TEAR
Chemical
Player-observed
What it is
A chemical round. Non-destructive, and the disturbance it causes shows up on the map.
Use it for
Probing a suspected position before you commit an expensive destructive shell to it — the standard Dead Reckoning technique.
Where people go wrong
It is a diagnostic tool, not a scoring one. Fire it into the suspected area, then read the updated map before buying the round that actually kills.
LE
Leaflet
Developer-stated
What it is
A propaganda round. It opens over the target and scatters printed leaflets.
Use it for
Story and morale objectives — the answer to the forum thread asking what LE is even for. Some operations ask for it explicitly.
Where people go wrong
It is not a weapon and will never register as damage. If an objective is not asking for leaflets, you are wasting a slot.
Picking a round quickly
The situation
Load
Why
One vehicle, one gun position, a tight cluster
HE
Fragment weight concentrated where it matters
Infantry in the open, spread across sub-grid squares
HCHE
Blast radius covers dispersion that HE would miss
Friendlies close to the impact area
AP
No burst radius to spill onto your own side
Buried, dug-in or hardened target
AP
Penetration rather than surface effect
Night, or an area you cannot see
STAR
Illuminates the ground under the burst
You suspect a position but will not spend a real shell on a guess
TEAR
Non-destructive probe; read the updated map afterwards
You need a formation to move rather than die
SMK
Screens the area and forces repositioning
The operation explicitly asks for leaflets
LE
Story and morale objective — never damage
The TEAR-then-kill pattern
Several late missions hide their primary targets from ordinary reconnaissance. The reliable answer is not more recon flights — it is to narrow each target down to a suspected area from the written reports, put a cheap non-destructive round into that area, and read what changes on the map before you commit an expensive shell. Dead Reckoning is built around this, and it transfers directly to Phantom Battery.
STAR shells tell two people where things are
A STAR burst is visible to everyone, not just to you. If High Command hands you a range and a bearing and you fire an illumination round on it, the burst point plus the numbers you were given are enough for anyone watching to reverse-engineer your firing position. In most missions that is harmless. In the ones where it is not, the mission will not warn you.
What is stocked, and what it costs you
Progression in IRON NEST is largely about unlocking ammunition types and reconnaissance abilities rather than upgrading the gun — the developers have said as much. Early operations give you a narrow selection; the interesting choices arrive once TEAR and the utility rounds are available.
Everything you load also competes with everything else for requisition. A shell plus six charges is a meaningful fraction of a recon flight. If you are running dry mid-mission, the usual culprit is habitually over-charging rather than the shells themselves — see elevation and powder charges.